Monday, May 6, 2013

DIY Tarp - Morning Dew

My increasing interest in backpacking esp. with regards to carrying less weight has moved me to use a tarp shelter. There are many places a tarp can be acquired - an inexpensive blue tarp from the hardware store to rather costly tarps of exotic materials from cottage manufacturers - or make one yourself! Rather than simply choosing to cut weight, a big factor, I need to assess my needs.
1) Minimal complexity
2) Minimal weight
3) Minimal cost
4) Maximum protection/coverage: rain and wind
5) Maximum versatility

This will mainly be a shared shelter between two people so I've chosen an 8'x10' flat tarp constructed of 1.1oz. silicone coated nylon or silnylon. Quest Outfitters has a tarp kit and pattern that can be modified to fit my needs. I had a wonderful experience with Quest Outfitters and I would highly recommend them. The package arrived in North Carolina from Florida roughly 48 hours after my phone order.


The materials from Quest Outfitters
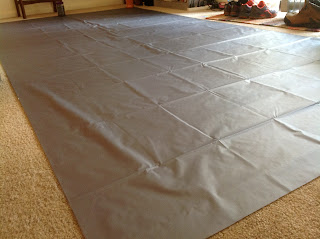
My first big sewing project - stuff sacks are easy - so I planned and measured and measured and measured and cut.  Their kit comes with around 6.8yds or 244". Lay the fabric out and measure 122" lengthwise and 50" width-wise to get two panels. This will accommodate for a 2" seam allowance, 1" on each side.


Doubled over for equal lengths. Each panel becomes one side.

Pretty!

Trimming excess length to make a panel 50"x122".
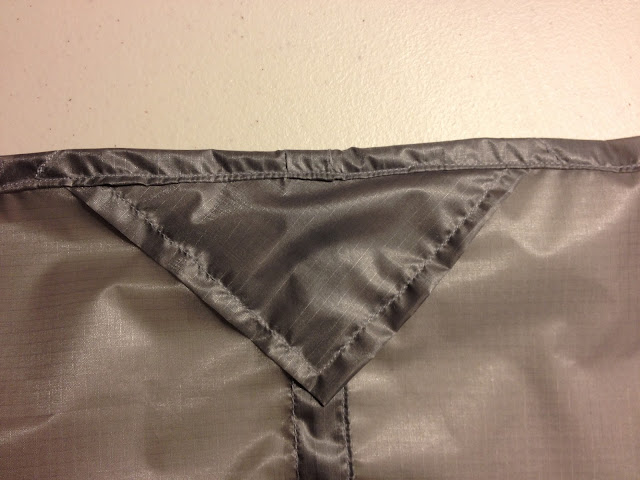
After installing a new needle into the machine - I used a Singer size 11 for woven fabric. Take some scrap Fabric and test your presser foot pressure, stitch width, length, and tension before working your project! I used a straight stitch, 0 width at 10spi, medium tension and just enough pressure to grip the fabric. Sew the ridgeline, reinforcement patches at all tie-out points, front and back hem, and side hems.


Test swatch. This is with an old needle with small pieces of slippery fabric so there was some puckering.
 
Sew the ridgeline. I put 3 grosgrain loops on the ridgeline to hang a bivy, bug net, etc.

Ridgeline reinforcement.

Ridgeline reinforcement.
Sandwich the silnylon between the grosgrain and sew.


 Pitch the tarp and seam seal the ridge.

Notice the extra tie-out between the front and middle - both sides. There is also another tie-out along the back edge between the ground and ridgeline - 12 points total. It allows this to become an enclosed shelter for whatever reason.

I did make a stuff sack that I close with one of the guylines, saves a little weight.

Tarp guyline pulled out and cinched around the neck.
Take it on a test run!


Panthertown 4-13-13
Panthertown 4-13-13
The total weight with cordage, seam sealer, and stuff sack is 16.2oz. with stakes 19.9oz. I have used the tarp under hard rain and it held up perfectly. I made sure to tighten the tarp before going to sleep as silnylon stretches when wet, even from morning dew. When I make the solo tarp I will probably go with a cuben fiber material. Should I choose silnylon again, because I am a spendthrift, I would use half-inch grosgrain for the tie-outs instead of three-quarter, make smaller reinforcement patches, be more sparing and cleaner with the seam sealer, and use smaller/lighter guyline cord.

No comments:

Post a Comment